I really need to clean off this table!
So much stuff to put away, Tommy already cleared one side for me, so not helpful.

Elegant Eggplant Card Stock
Daffodil Delight Stitched Ribbon
Designer Frame & Delicate Designs Textured impressions Embossing Folders
Extra Large Oval Punch
One in A Million Stamp Set

Cajun Craze and Whisper White Card Stock
Cajun Craze ink
Linen Thread
Delicate Designs Textured impressions Embossing Folders
Cajun Craze Designer Series Paper
Cajun Craze ink sponged over textured piece
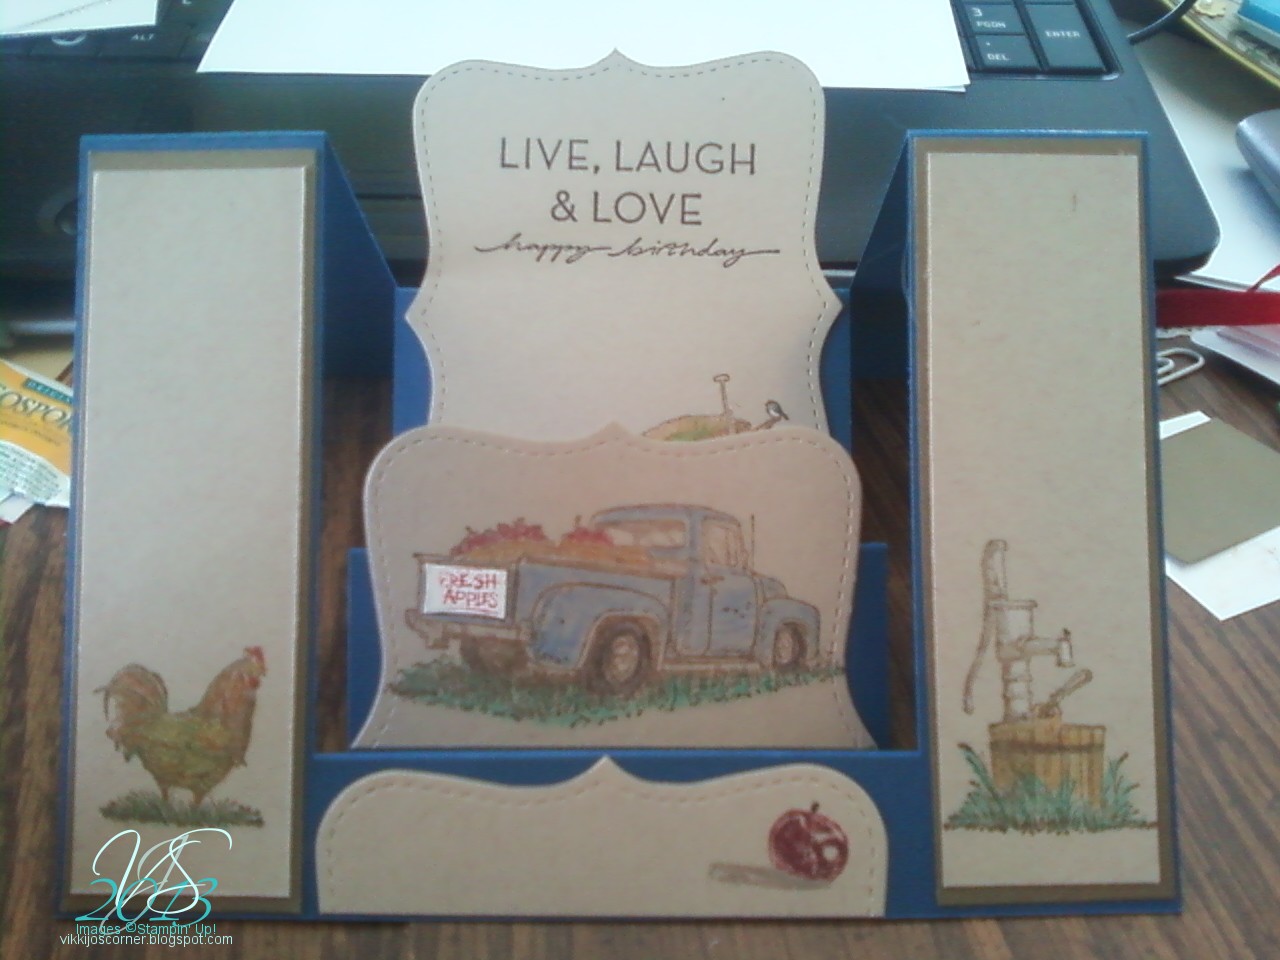
Nature's Walk Stamp Set

Honeycomb Textured impressions Embossing Folders
I used it on DSP too and cut them out
Bitty Banner Framelits & Itty Bitty Banners Stamp Set
Daffodil Delight Stitched Ribbon

Labels Collection Framelits
Easter Blessings Stamp Set
Pretty in Pink DSP
Certainly Celery CS & DSP
Elegant Eggplant
Black ink
Occasions Paper Piercing
.jpg)
Beautiful Wings Embosslits and Basic Pearls
Night of Navy DSP
Whisper White base (I like how this CAS card turned out)
1" Square punch to notch out the flags
OMG I just realized my stamp set On Your Birthday Retired last year. I really need to accept that!
Same stuff used on this next card......
.jpg)
well except instead of the 1" square I used the 1 38" and the corner rounder
and I added a Little leaf Sizzlit cut

These next 2 use Just Believe stamp set
Card 1 I did the masking technique for the moon, not too sure but I think I have a problem with my So Saffron ink.... looks kinda beige
Cajun Craze, Pumpkin Pie and Tangerine Tango
The Signo gel Pen is such a cool toy!

Spotlighting Technique
Garden Green and Daffodil Delight Markers and Card Stock
Oh, Whisper White CS too.
Daffodil Delight Stitched Ribbon
Bitty Banner Framelits
Corner Rounder

Wood Grain Textured impressions Embossing Folders
Linen Thread
Lovely as a Tree Stamp set
Whisper White, Garden Green and Chocolate Chip Card Stock
Garden Green and Chocolate Chip Markers

Lattice Big Shot Die
Bird Builder Punch (wings & leaves)
Elegant Eggplant, Marina Mist, Real Red, Pretty in Pink, Daffodil Delight and Bashful Blue Card Stock
Easter Blessings Stamp
The next 2 sets are 3 cards &envelopes with a tote
I got the pattern about 5 years ago from a lady on SCS, but I tried to link back to it.. it's gone!

Just Believe Stamp Set
Very Vanilla, Baja Breeze, Rose Red and Basic Grey CS
.jpg)
.jpg)
.jpg)

Very Vanilla, Cherry Cobbler, Night of Navy and Soft Suede CS
Nature's Walk Stamp Set
.jpg)
.jpg)
.jpg)
.jpg)


.jpg)
.jpg)
.jpg)
.jpg)
.jpg)
.jpg)